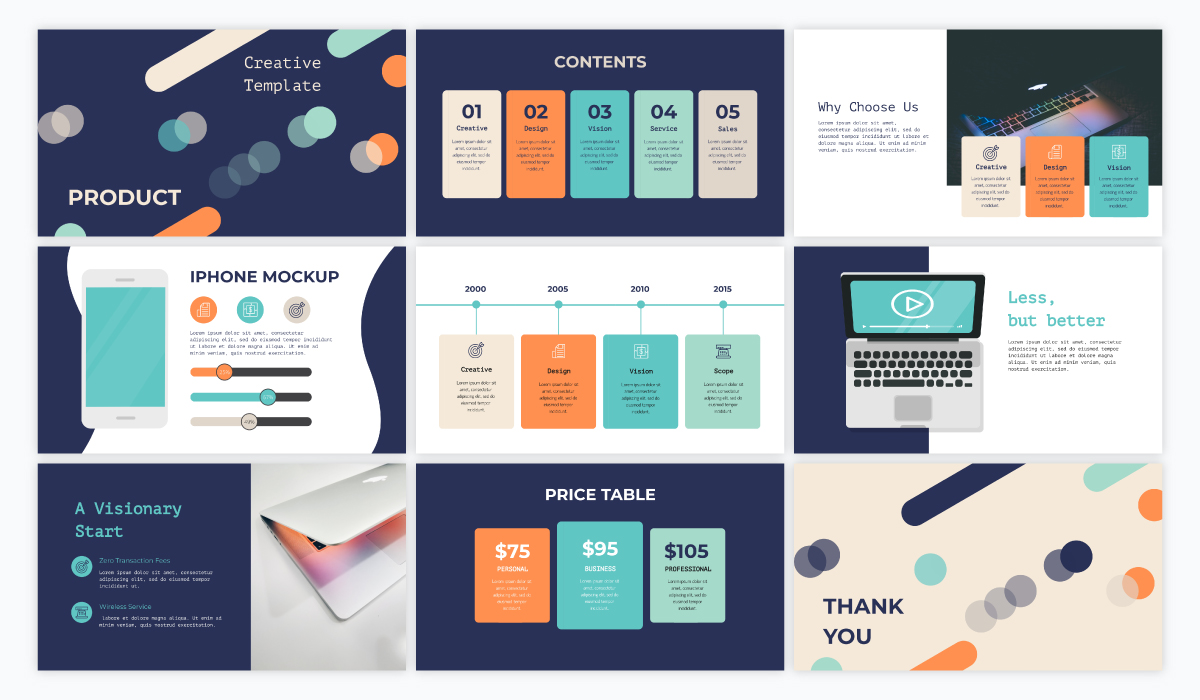
Stages of creating a presentation in PowerPoint
In order for the presentation to be as effective as possible, there are several important steps to follow when creating it.
Let’s take a closer look at each of the stages shown in the diagram.
Stage 1. Formulating the Purpose of the Presentation
The purpose of the presentation must be realistic and expressed in a single sentence to achieve maximum benefit. Usually, the purpose of the training presentation coincides with the purpose of the lesson.
Step 2. Collect and organize the material
At this stage, it is very important not to overdo it – there should certainly be enough material for the presentation, but remember that only the most important information should be presented on the slides.
It is recommended when selecting material immediately formulate those words or phrases that will be put on the slides. You can easily implement it in the form of a table, where the left column contains the information that will be provided to the audience orally, and the right column contains the materials for slides (texts, illustrations, schemes, etc.).

Stage 3. Development of Presentation Concept
At this stage you decide what type of presentation will be used (you can take the classifications discussed earlier as a basis). For example, you decide that it should be a linear presentation in Microsoft PowerPoint – in that case the material should be organized in such a way that the logic of the presentation is clearly visible and it is directed at reaching a concrete pedagogical goal.
Step 4. Designing a Presentation
The first stage of the presentation design can be limited to the choice of ready-made templates, later it is necessary to create your own style of presentation. At this stage it is necessary to decide what colors will prevail in the presentation, what will be the transitions between slides, etc.
Usually, the following slides are distinguished visually: the title slide, the main/content slide, the slide divider (used to visually separate blocks of the presentation) and the final slide.
Stage 5. Filling the presentation
You need to transfer the material from the second column of the table (see Stage 2) to the slides. Remember that you have to include the headings of your slides in addition to the main material. If you plan to use additional graphical materials (e.g. icons – arrows, stars, etc.), you need to add them to the slides at this stage.
Stage 6. Optimizing Texts and Graphics
It is important to decide which of the text materials can be replaced by illustrations or diagrams. If the text should be kept, the following rules should be adhered to:
- large paragraphs of text try to shorten or split into several slides;
- do not use center alignment for large blocks of text (such material is very difficult to read);
- better to present lists in the form of lists;
- do not use animation effects for texts.
Quantitative data can be visualized by using diagrams – this will add clarity to the material being presented.
Stage 7. Layout of slides
Texts are assigned uniform types of fonts and colors. Titles and texts are aligned by the guides or grid (so that the transition from one slide to another texts do not “jump”, changing their positions). If necessary, animation effects are added to the presentation elements (they should be justified – for example, a gradual display of the scheme or steps).

Stage 8. Testing the presentation
At this stage you need to correlate the text of the presentation with the slides.
Testing the presentation in demonstration mode will allow you to check the convenience of working with slides, animation effects.
There are two main options for demonstrating the slides of the presentation: 1) the presenter will switch slides (this is the option most often encountered in training sessions); 2) the assistant will be responsible for switching slides. In the second case it is necessary to think over the variants of interaction – key phrases or gestures. Sometimes the text of the speech is printed out for the assistant, on which the places for transition to the next slides are marked.
Rehearsal of the presentation before the speech will allow to avoid inaccuracies and errors in the logic of the narrative.
Although it is possible to make a presentation bypassing certain steps, we recommend that you prepare presentations responsibly. Especially when it comes to training presentations that you plan to show to your students.
By the way, if the presentation is well prepared and the presentation is enjoyable, then working with that presentation again will be comfortable and enjoyable!
